Within a few seconds of viewing a color map in ATOS, were able to quickly understand how our actual part measures up to its design.
ADAC Automotive Innovative Engineering with ATOS
Contributed by | Capture3D
ADAC Automotive first opened its doors in Grand Rapids, Michigan in 1975. Back then, the small company was known as ADAC Plastics. Today, ADAC Automotive is a tier-one automotive supplier that focuses on the production of vehicle entry systems, exterior and interior door handles, exterior trim and exterior mirrors for the global automotive market.
The company employs more than 1,250 people across its six Michigan locations, which include Muskegon, Saranac and Auburn Hills in addition to three facilities based in Grand Rapids. These six locations total more than 600,000 square feet and all five of the West Michigan manufacturing locations have been designated by the State of Michigan as "Clean Corporate Citizens.”

In 2014, ADAC decided to explore 3D metrology systems. The company’s metrology lab, located in Grand Rapids, used two traditional CMMs for measuring and inspecting parts, and the manufacturing facility in Muskegon primarily used manual check gauges on the production line.
Metrology Manager of ADAC, Jesse Wagner, had this to say; “The biggest reason we looked into 3D metrology systems was to gain the ability to see the entire part. With CMM’s, we’re looking at an Excel document packed with data points, which can make understanding necessary changes difficult. Within a few seconds of viewing a color map in ATOS, we’re able to quickly understand how our actual part measures up to its design.”
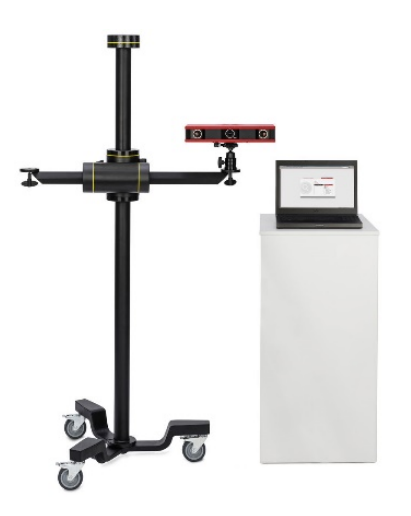
After comparing several 3D metrology systems, ADAC selected the ATOS blue light scanners from Capture 3D. ATOS and its accompanying software, GOM Inspect, were chosen due to the high quality of data collected with every single scan, ease-of-use, and ability to capture complex geometries, which is not possible with a traditional CMM.

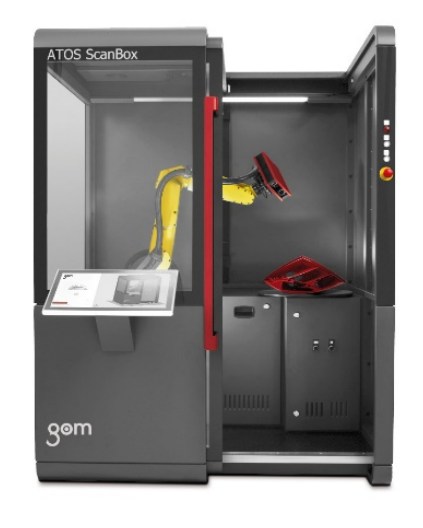
Now, with several years of experience, ADAC has transitioned to 3D metrology technology in a big way. The metrology team has reduced from two CMMs to one, and they've acquired five ATOS Cores, a Capsule 12M, a photogrammetry package and two automated ATOS 4105 ScanBoxes—one in the metrology lab in Grand Rapids, and a twin in their Muskegon manufacturing facility.
The company has primarily been using the scanners for molding tool development and production inspection, although the metrology lab often scans parts before and after undergoing certain tests such as vibration, humidity, water submersion, lifecycle and durability. Scanning the parts before and after each test allows ADAC to quickly view areas on the part that have become altered. Plastic is malleable and prone to change from outside elements, so testing is a necessary step to ensure part quality throughout any potential weather changes. “We want you to be able to get in and out of your vehicle in any condition,” said Wagner.
The ATOS 4105 ScanBoxes have been instrumental in streamlining and advancing production inspection for ADAC. The manufacturing facility quality team in Muskegon scans a series of critical points on production parts every time that mold is run (per shift, daily). The metrology lab in Grand Rapids periodically performs a more detailed analysis reviewing every dimension and surface of every part. ScanBoxes come with VMR, or Virtual Measuring Room software, which intelligently optimizes the robotic path for automated offline and online programming of measurement and inspection routines. ADAC fully utilizes the Kiosk mode, which is a graphical touch-screen interface that allows shop-floor auditors to easily select a part template for seamless, one-touch operation and complete inspection analysis without specialized training.
Each of ADAC’s ScanBoxes are equipped with the ATOS Plus, allowing for automated photogrammetry to be integrated into each program. By combining 3D scanning and photogrammetry, the ScanBox ensures precision accuracy at fast speeds, higher repeatability and reliability, and reduced costs of fixturing. Fixturing parts in the ScanBox and using the ATOS Plus photogrammetry integration allows for reference points to be placed only on the fixtures and not the parts, simplifying preparation and saving money.
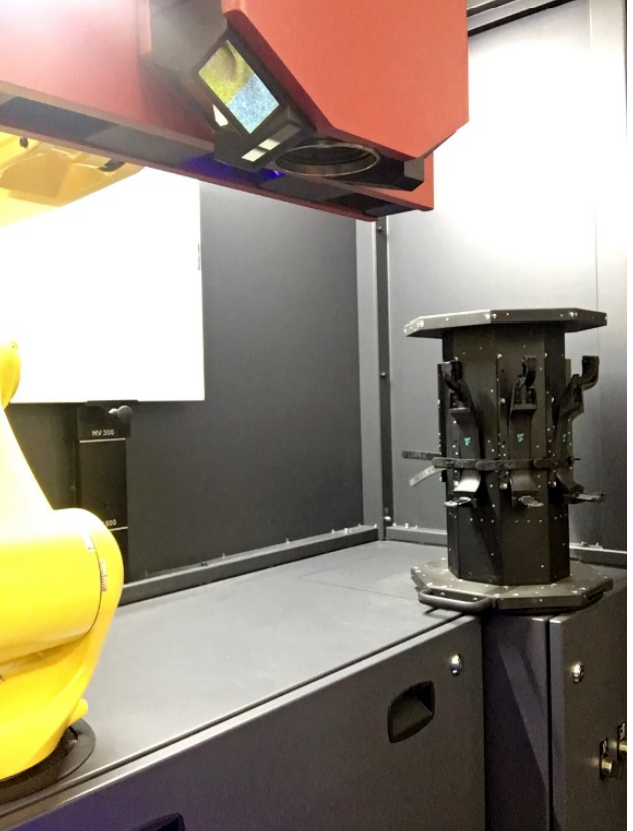
While the ATOS Plus integration is a standard solution provided by Capture 3D, ADAC has taken creative fixturing to the next level. Most companies can scan several parts at once using fixtures and reference frames designed to hold multiple parts. ADAC’s metrology team designed and machined fixtures that can hold up to eight parts each. In certain cases, two fixtures can be scanned at once in the given measuring volume. That means up to sixteen parts can be inspected in just a few minutes. One fixture holds a series of parts, and an interchangeable fixture placed on top can hold a different series of parts.
“It’s all about maximizing the efficiency of the scanner,” said Wagner. The metrology team designed the fixtures with the help of their CAD team and then used on-site CNCs and 3D printers to bring them to life. By using inexpensive materials and handling the process internally, costs were kept low—generally only about $50 per fixture. Python scripts were written so that the scanner can use reference points on the fixtures to identify and separate each individual part, so the ATOS software can differentiate between the multiples in a single scan without any additional programming from the operator.
“We wanted the operator to simply load the parts, close the door, and let the scanner and software do the rest. The ATOS 3D scanners are definitely time-savers, but compared to the high costs of CMM fixtures and the upkeep necessary for gauges, the biggest advantage has been cost savings,” said Wagner.
Another benefit of ATOS technology is the ability to archive digital scan data. Virtual meshes from each product are saved in the archives so that if that data is needed in the future, it can be easily accessed. Wagner said that almost all car handles are unique to that specific car.
“There’s a lot of small variables with different access solutions—a button or no button, keyhole or no keyhole, painted, chrome strip. There are more than two dozen handles for the Ford F-150 line alone. Saving a physical copy of each part would be nearly impossible due to the large number that would need to be stored. Having that digital mesh allows us to see the evolution of the part from early prototype all the way through production.”

An example of the fixture that ADAC designed and machined. This fixture can hold eight car door handles, speeding up the measurement process by maximizing the measuring volume of the scanner.
Despite being in different locations, the manufacturing facilities and the metrology lab can easily share data over a company server—something that is made easier with the digital archiving and data storage built into the ATOS system. Adopting the ATOS 3D scanners has changed ADAC’s manufacturing process for the better and has kicked off a small technological revolution in terms of how the company views measurement and inspection.
“It has been quite the shift,” said Wagner. “The scanner has evolved from being a tool used to help in certain situations to being used every day.” The numbers prove it. In 2014, ADAC scanned 378 parts. In 2017, that number jumped to over 8,000 parts.
The metrology lab has had its share of employee growth, too. Before implementing ATOS, there were two people in the department. Now, there are seven, and Wagner says ADAC expects to have ten people working there in the next five years or so. Vehicles are always changing and integrating new features. According to Wagner, “ADAC has always been on the forefront of innovation. I think you’d be amazed by the number of components necessary to simply allow you to get in and out of your car every day.”
3D metrology is also about to make a splash at the company's partners in Mexico, ASDM (ADAC Strattec de Mexico) as they are introducing this equipment as well. The operations in West Michigan are setting the standard for their VAST affiliates (Vehicle Access System Technology), located in Milwaukee, China, and throughout Europe.
The content & opinions in this article are the author’s and do not necessarily represent the views of ManufacturingTomorrow
Comments (0)
This post does not have any comments. Be the first to leave a comment below.
Featured Product

