How to convert a 3D Printer to a Laser Cutter
Pretty much every maker has at least one 3d printer nowadays. This is awesome, as there are so many things you can do with a 3d printer. But you can not only use your 3d printer for printing, but it is also an XYZ motion platform. By attaching a laser to the extruder, for example, you can easily convert your 3d printer to a laser engraver or even cutter. If you also still keep all the 3d printer parts attached, you can quite quickly build a dual-purpose machine, with the laser diode being the only cost to your new laser cutter.
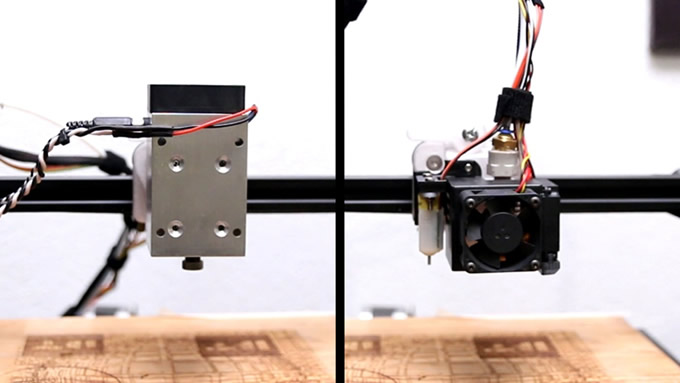
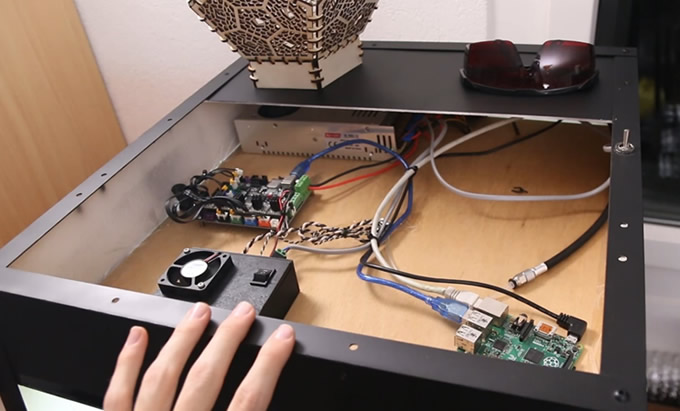
One suitable method to control the laser is to use the part cooling fan PWM signal for the PWM input of the laser. While you are lasering, you don’t need the part cooling fan, and it is straightforward to control it with gcode. Provided your laser uses the same input voltage as your printer, you can likely also use the already present power supply to power your laser. This works because you are not using the heated bed and hotend during laser cutting, thus leaving a lot of energy available for the laser.
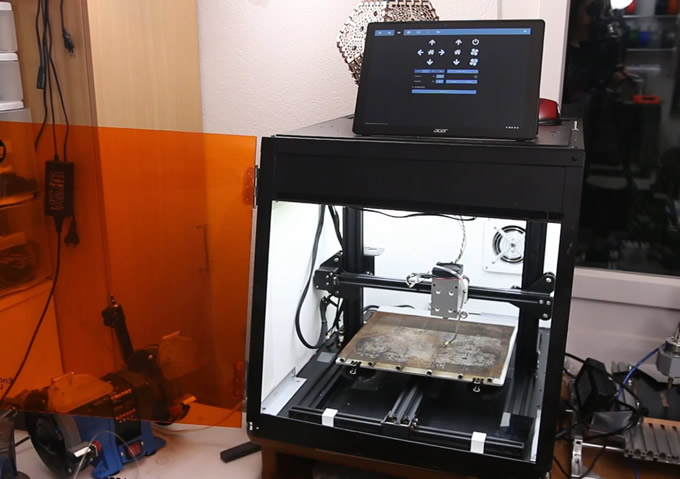
One thing that you absolutely need with a laser, that you most likely don’t already have on your 3d printer, is an enclosure with a vent to the outside. Laser engraving and even more laser cutting produce a lot of smoke that is not healthy to breathe in, not to mention it smells horrible. The enclosure doesn’t have to be anything complicated, just some construction foam with a door to access the internals will do. If you want to add a window to see your progress, I would recommend using orange acrylic, as it will block most of the blue laser light, protecting you from harm. For the exhaust, you can get a simple ventilation fan with some flexible ducting for less than $20 from China.
If you want to go one step further and make your laser even better, you can consider adding an air assist. By blowing away all the generated smoke and loose particles as fast as possible, you can prevent discoloration around the engraved areas and also increase the power of the laser, as there will be no smoke obstructing the path. Especially when cutting wood, this can give you a much cleaner result. For the air source, you will need some kind of compressor or air pump. A good option is using an airbrush compressor, as they are often designed to be reasonably quiet and provide enough air for a simple air assist. As you want as much air velocity out of your little compressor, adding a tiny nozzle, like a 0.2mm 3d printer nozzle, will be beneficial.
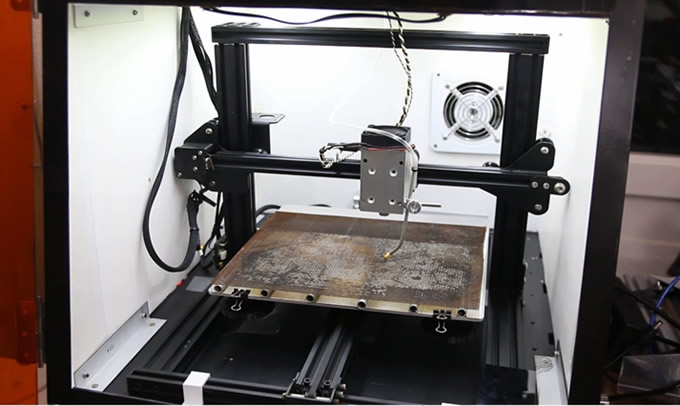
If you plan on doing a lot of through cutting, it is also a good idea to pick up a honeycomb or mesh table that will allow the smoke to move away from the cut on the bottom of your material. If you don’t feel like paying for a honeycomb laser table, an alternative is to use some wire mesh, some spacers, and a bottom plate and build something simple yourself. Depending on the style of your printer, you can either place this contraption on top of the build plate or, if you have a removable glass plate, you can just swap out the two beds depending on what you need the printer for.
About the Author
My name is David Wieland, and I run a YouTube channel called Datulab Tech (https://youtube.com/datulabtech). I also make videos and write articles for Endurance Lasers, who offer a wide range of diode lasers to retrofit onto your 3d printer or CNC machine (https://endurancelasers.com).
Videos about the topic by me: https://youtu.be/wjH48V3uANE and https://youtu.be/zfk30lpDetk
Featured Product
